I'm also assuming that you have a pattern ready to go, and that you know how to use both Photoshop and your computer.
 |
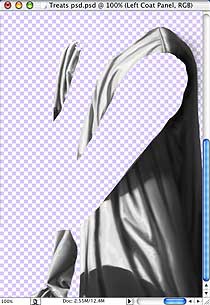
Open the picture, and isolate the cloth on its own layer. Unless you want to change the color of the pattern, make sure the cloth has no color. (If it does, you can decrease the Saturation (Image > Adjustments > Hue/Saturation) until it doesn't.) Hide the other layers. |
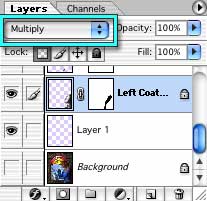 |
Make a New layer beneath the Cloth layer, and set the Blending Mode of the Cloth layer to Multiply. |
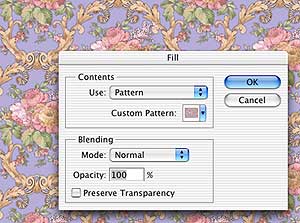 |
Open the pattern, or, if you have made a Photoshop Pattern, open a new document, at least twice the size of the largest fold in your cloth (to give you plenty of room to maneuver) and fill it with the pattern.
Select All of the pattern, and Copy it to the clipboard. |
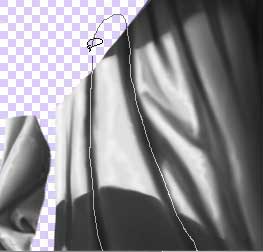 |
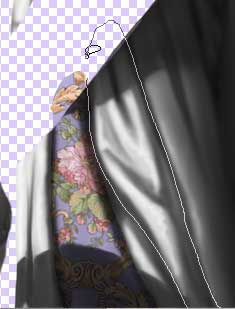
Using the Lasso tool, draw a selection around one section of fabric, following the dark lines that form the shadows of a fold. |
 |
Make sure you are working on the new layer, and Paste Into the selection. (Edit > Paste Into.) |
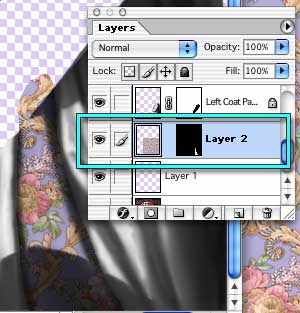 |
This puts the pattern on a new layer, with a mask already made. You can delete the empty layer now. It was just there to make sure the layer order was correct.
As you can see, the fold with the pattern is already shaded, and looks pretty good. (If it isn't, check the layer order.) |
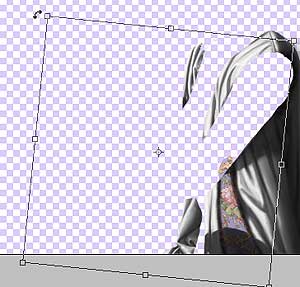 |
Use Free Transform (Command/ctrl T or Edit > Free Transform) to adjust the position or orientation of the pattern, if desired. (You should do this for some of the sections, if not for all. After all, the whole point of doing it section by section is to break up the pattern, and make it look like parts are hidden by the draping of the fabric.) |
 |
Lasso a selection to make the next fold, and repeat the Paste Into and Transform steps.
Continue until you have filled all your folds with the pattern. |
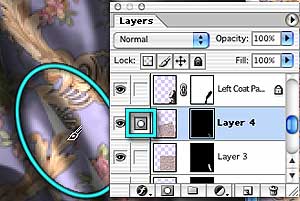 |
If you find that you have "cracks" between two swatches of pattern, you can easily fix them by painting in the Mask of the layer in question. Since there is a large section of pattern there, it's easy to adjust as needed. (Do this as you go, because it can be tedious to find the correct layer later.) Temporarily hiding the cloth layer between pasting operations will make the "cracks" obvious.
It's easiest to work from the bottom folds towards the ones on top. (I didn't for the sake of clarity, since the bottom folds, being more in shadow, are harder to see.) Also, keep the pattern where you can see it, and it will be easier to make sure the missing parts between the folds are in line, and at the correct "depth" for the drapery. |
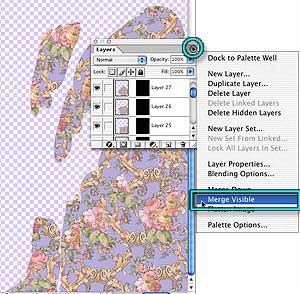 |
Once you are sure that all the pieces of the pattern are exactly the way you want them, and there aren't any cracks, Hide everything except the pattern layers, and Merge Visible.
(This step is to bring the file down to a reasonable size again. If you have memory to burn, or you think that you might want to use a different pattern later, you can skip it.) |
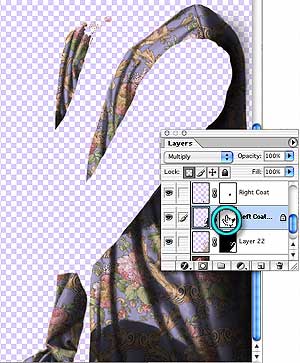 |
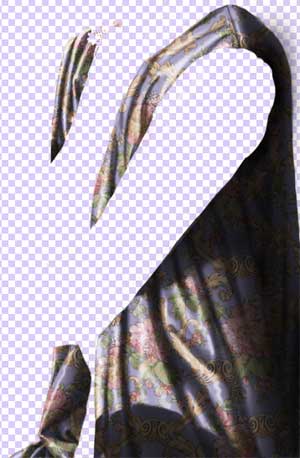
Select any parts of the pattern that extend beyond the cloth by selecting the Layer Transparency for the Cloth layer (Command/ctrl and click on the appropriate Layer Thumbnail. (The Mask, if you are using a mask for the cloth, or the Image if you aren't.)
Then make sure you are working on the Pattern Layer, and either click the Mask button to mask the extra, or Delete if you know that the selection is perfect. (If you have left the Pattern on multiple layers, you will need to mask or delete the overlap for each one. Leave the selection active, and just move from layer to layer masking or deleting.) |
 |
If you would like to add a sheen to the cloth, paint the highlights in a new layer, and set the Blending Mode to Screen. Adjust the opacity until you have the effect you desire. |
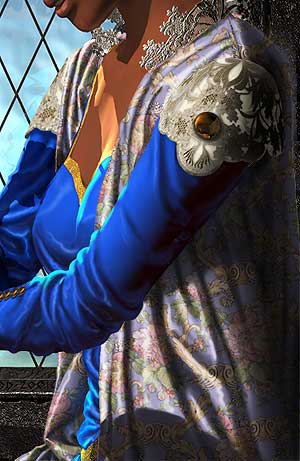 |
And that's it! Your patterned cloth is finished, and ready to become a rich part of the completed scene. |
If you have a question, write to me and ask it!
Everything on this site is copyright © Robin Wood; all rights reserved. Please do not use anything without permission. To get permission, write to Robin, and explain what you intend to use it for.